Terracotta Bottle Painting: Your Ultimate Guide from Prep to Seal
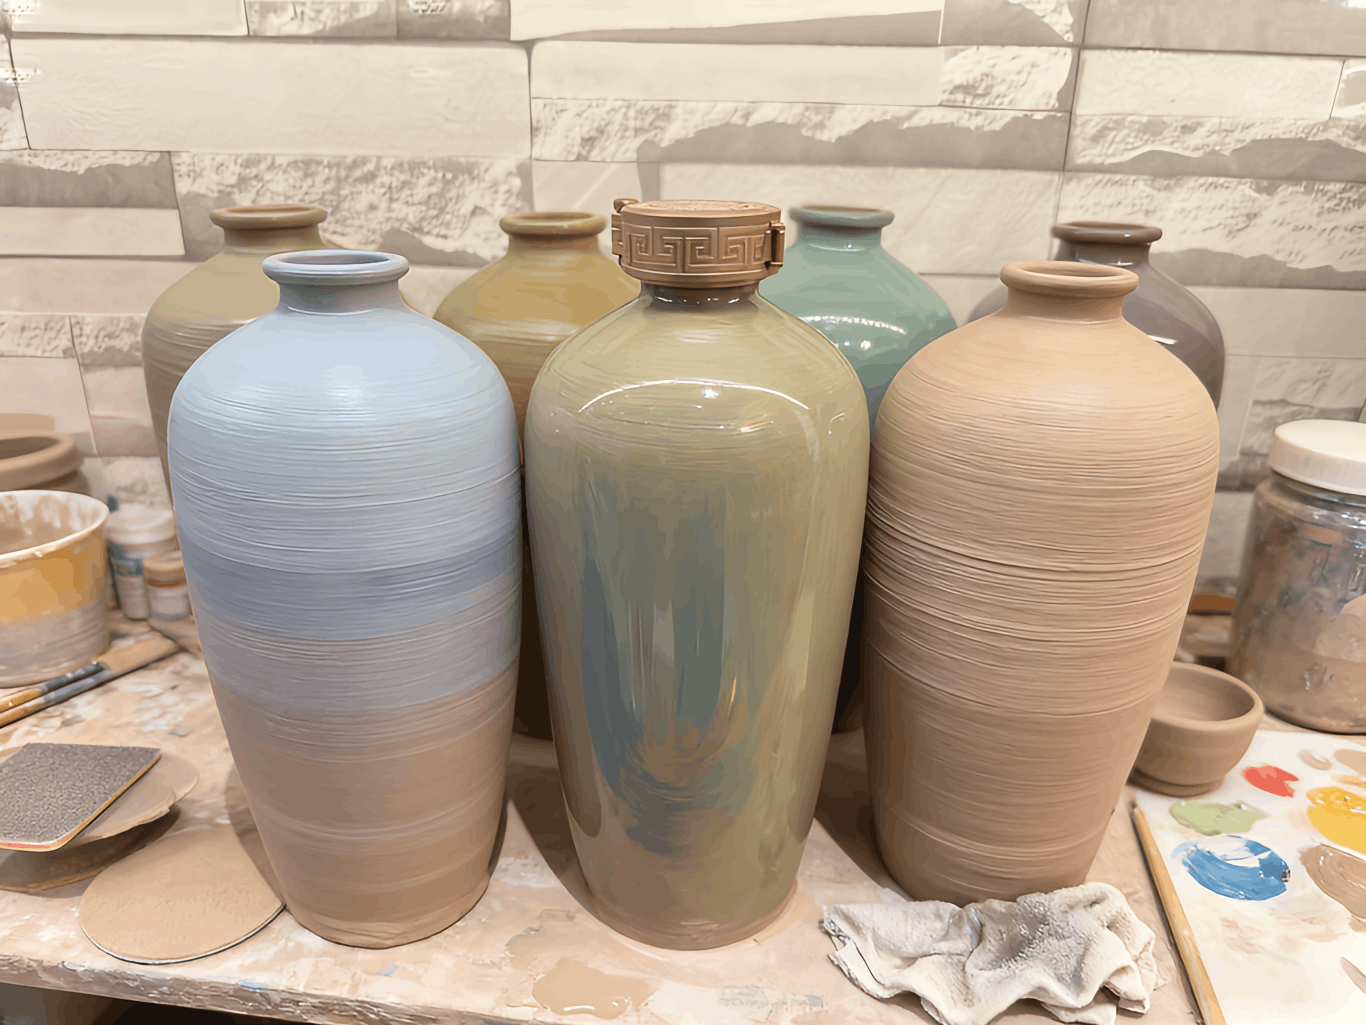
So, you’ve got a plain terracotta bottle and a vision to turn it into a unique work of art. Whether it’s for a rustic home décor piece or a personalized gift, painting terracotta is an incredibly rewarding craft. But without the right know-how, you might face issues like paint peeling, uneven coverage, or a finished piece that doesn’t last.
This ultimate guide walks you through the entire process, from that crucial first step everyone misses to the final seal that protects your masterpiece.
Terracotta Bottle Painting: Why Preparation is Everything
Skipping preparation is the number one reason for failed projects. A raw terracotta bottle is porous and covered in dust, which will soak up your paint and prevent vibrant colors.
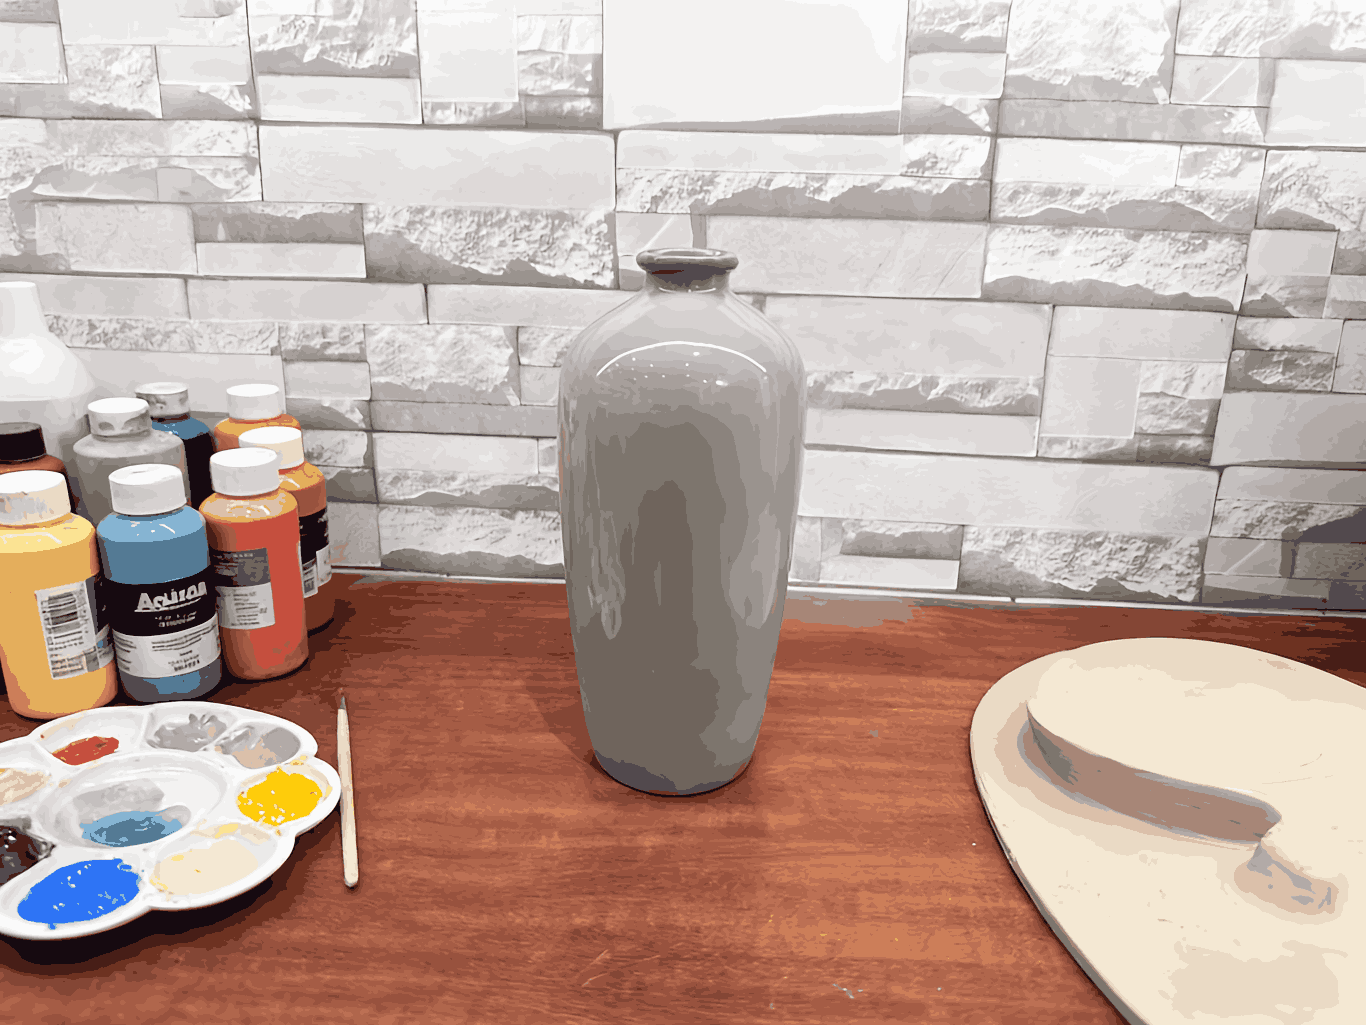
What You’ll Need:
● Your terracotta bottle
● Fine-grit sandpaper
● A clean, damp cloth
Keywords materials: A primer or base coat (e.g., Gesso or a flat white acrylic paint)
Terracotta Bottle Painting The Prep Process:
1. Clean Thoroughly: Wipe the entire bottle with a damp cloth to remove all dust and let it dry completely.
2. Sand Gently: Lightly sand the surface. This isn’t about reshaping, but creating a slightly roughened texture for the primer to grip onto.
3. Apply Primer: This is non-negotiable. A layer of primer seals the porous surface, creates a uniform canvas, and makes your colors pop. Apply one to two thin, even coats and let it dry fully.
Choosing Your Paints: Acrylics vs. Professional Grades
Your choice of paint defines the look, feel, and durability of your piece.
● Acrylic Paints
Perfect for beginners. They are water-based, easy to use, and come in a vast array of colors. For the best coverage, apply 2-3 thin layers, allowing each to dry completely.
● Ceramic Markers or Paints
These offer sharp lines and are ideal for intricate patterns and details. Many require heat-setting with an oven for permanence.
● Chalk Paint
Provides a classic, matte, and vintage look with excellent adhesion. It often requires a different sealing process.
Pro Tip: Invest in a set of quality synthetic brushes. A flat brush for base coats and a fine round brush for details will make all the difference.
The Final, Critical Step: Sealing Your Artwork
If you don’t seal your painted bottle, the paint will eventually chip, fade, or absorb moisture. The sealant is its armor.
● For Indoor Décor
A water-based polyurethane spray or brush-on varnish in a matte, satin, or gloss finish is ideal. Spray versions offer the most even, drip-free coating.
● For Outdoor Use or Items that Will Be Washed
You need a tougher sealant. Look for an exterior-grade varnish or a specialist ceramic sealant designed to withstand the elements.
Terracotta Bottle Painting How to Seal
1. Ensure your paint is 100% dry.
2. In a well-ventilated area, apply the sealant in thin, even coats, holding the spray can about 10 inches away.
3. Let the first coat dry as directed, then apply a second coat for maximum protection.
Conclusion: Your Journey from Plain to Painted
Painting terracotta bottles is more than a craft—it’s about transforming a simple, earthy object into a personal expression of style. By respecting the process—meticulous prep, creative painting, and protective sealing—you ensure your creation will be admired for years to come.
Now that you have the ultimate guide, it’s time to create, experiment, and bring your vision to life.
For beginners in terracotta bottle painting, it is necessary to prioritize learning and mastering 5 Terracotta Bottle Painting Mistakes